Abstract
This guide provides step-by-step instructions for resolving cases where the trapping laser cannot be turned on because the interlock is not triggering. It covers checks for the trapping laser control unit, Emergency Off (EMO) button, power supply, and C-Trap hood closure. It also explains how to adjust the actuator block on the C-Trap door if needed.
1. Check Basic Interlock Operation
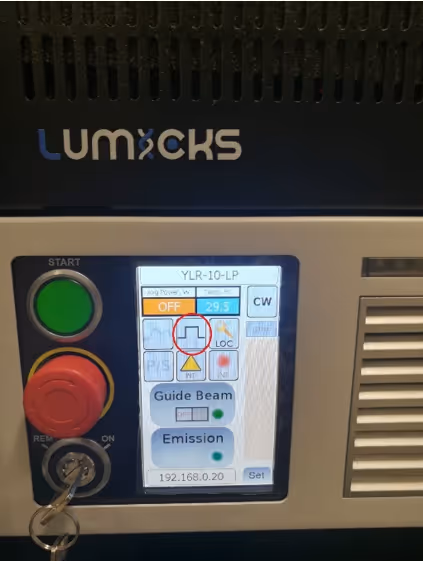
1.1. Verify the trapping laser control unit status
- Ensure the key switch on the trapping laser (IPG Photonics) control unit, located in the electronics rack is turned to the ON position.
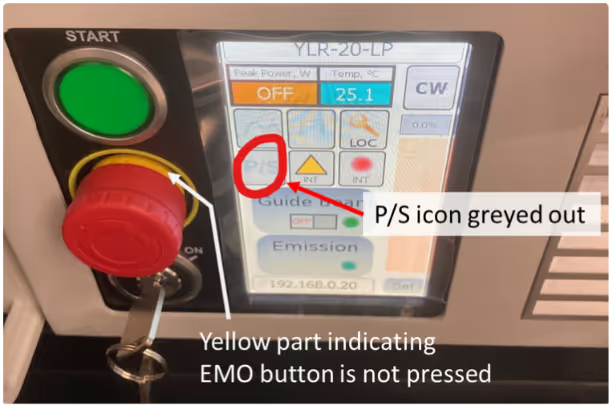
1.2. Check the EMO button
- Confirm that the Emergency Off (EMO) button is not pressed.
- If pressed, rotate it clockwise until it releases. A yellow plastic collar should become visible.
- Note: Each time the interlock circuit is opened, the EMO must be reset.
1.3. Check power supply
- If the trapping laser control unit screen remains black, confirm it is connected to the power strip and that the main LUMICKS power supply unit is switched ON.
1.4. Confirm hood closure
- Ensure the C-Trap hood is fully closed.
1.5. Test readiness
- Press the green START button on the trapping laser control unit.
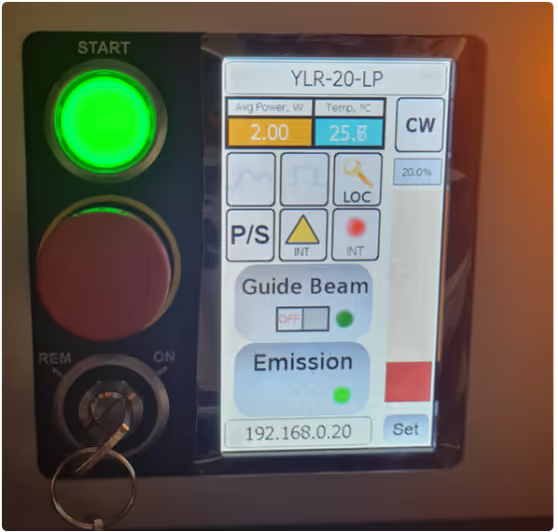
- If the button lights up: the interlock circuit is complete, and the trapping laser can be turned on. In this case the P/S icon on the touchscreen is enabled.
- If the button remains unlit and the P/S icon on the touchscreen is greyed out, continue to Section 2.
2. Inspecting and Adjusting the C-Trap Door
If the trapping laser will not switch on with the C-Trap door closed, the actuator block (inside the door) may not properly engage the interlock switch. Over time, repeated opening and closing of the hood can cause the actuator block to shift.
2.1. Access the actuator block
- Open the C-Trap door to expose the actuator block (mounted inside the door).
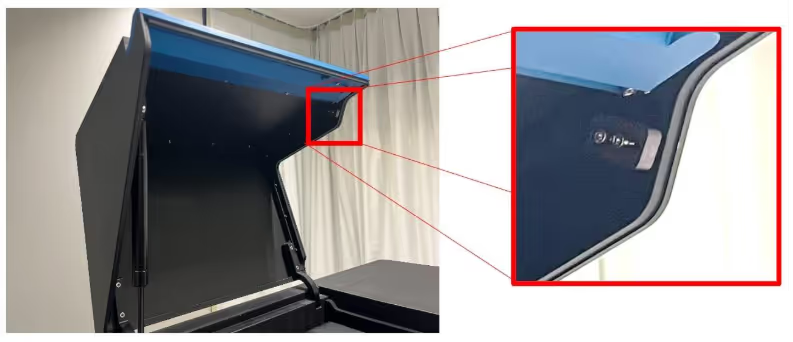
2.2. Adjust the actuator block
- Loosen the two M3 bolts holding the actuator block in place.
- Slide the block slightly forward (~0.5 mm) and retighten the bolts.
- Close the hood and test whether the interlock is engaged by pressing the green START button.
2.3. Repeat if necessary
- If the interlock does not trigger, repeat the adjustment in small increments.
- Do not apply excessive pressure or overextend the block.
⚠️ Caution: If the actuator block reaches the end of its adjustment range and the interlock still does not trigger, do not force further adjustments. Contact support@lumicks.com.
2.4. Avoid overextension
- Overextending the actuator block can prevent the hood from closing properly (Fig. 4).
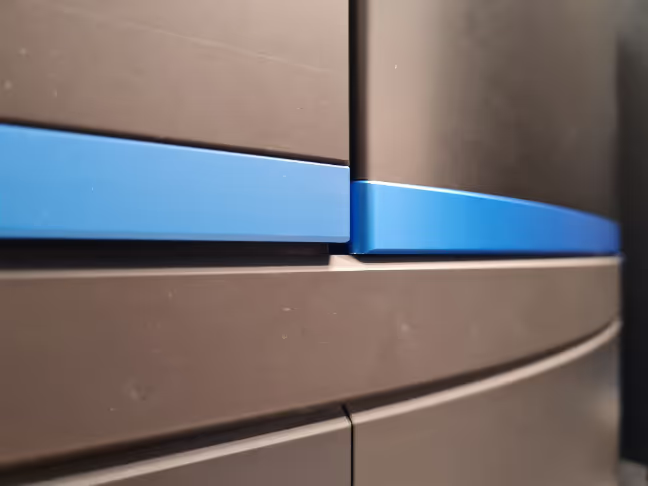
- If the lid remains open or a visible gap is present, retract the actuator block slightly until the hood closes level with the cover box while still pressing the interlock switch.
3. Verification
3.1. Close the hood and press the green START button on the trapping laser control unit.
- If the button lights up, the trapping laser is ready.
3.2. Confirm the interlock engages correctly by:
- Pulling the red knob on the trapping laser module.
- Pressing the green START button.
3.3. Ensure the hood sits flush with minimal gap between the lid and lip of the C-Trap.
4. Support
If the interlock still does not trigger after adjustments:
- Document the issue (photos of the actuator block and hood alignment are helpful).
- Contact support@lumicks.com with your C-Trap serial number and description of the problem.