Abstract
This document provides a step-by-step procedure for replacing a faulty Automated Fluidics (AFL) module in your C-Trap. It includes preparation, hardware replacement, DHCP configuration, verification in Bluelake, and troubleshooting of common issues such as connection failures or valve actuator malfunctions. Instructions are also provided for the return of the defective unit and contacting customer support.
1. Required Tools and Parts
- Tools: 2.5 mm Hex key
- Parts:
- Automated Fluidics unit sent as replacement
- Blue Ethernet cable (from the AFL unit)
2. Preliminary steps
2.1. Unpack the new AFL and record the MAC address from the sticker on the unit.
- The MAC address is a hexadecimal code located on a sticker on one side of the AFL unit – usually the bottom face.
- If no sticker is present, proceed with Section 4.2 (alternate MAC retrieval).
2.2. On the controller PC (the PC running Bluelake):
- Log in with a Windows administrator account (typically the C-Trap owner account).
- Open Bluelake or the uFlux application.
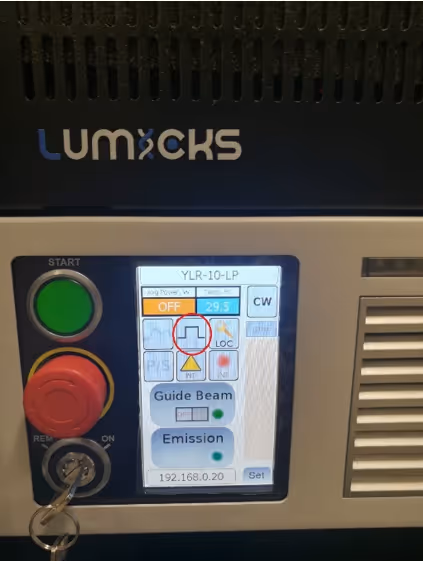
2.3. Using the uFlux or Bluelake features, in the faulty Autofluidics unit:
- Vent pressure .
- Set all valves to Open.
- Close Bluelake (with the safe shutdown mode) or uFlux.
3. Replacing the AFL unit
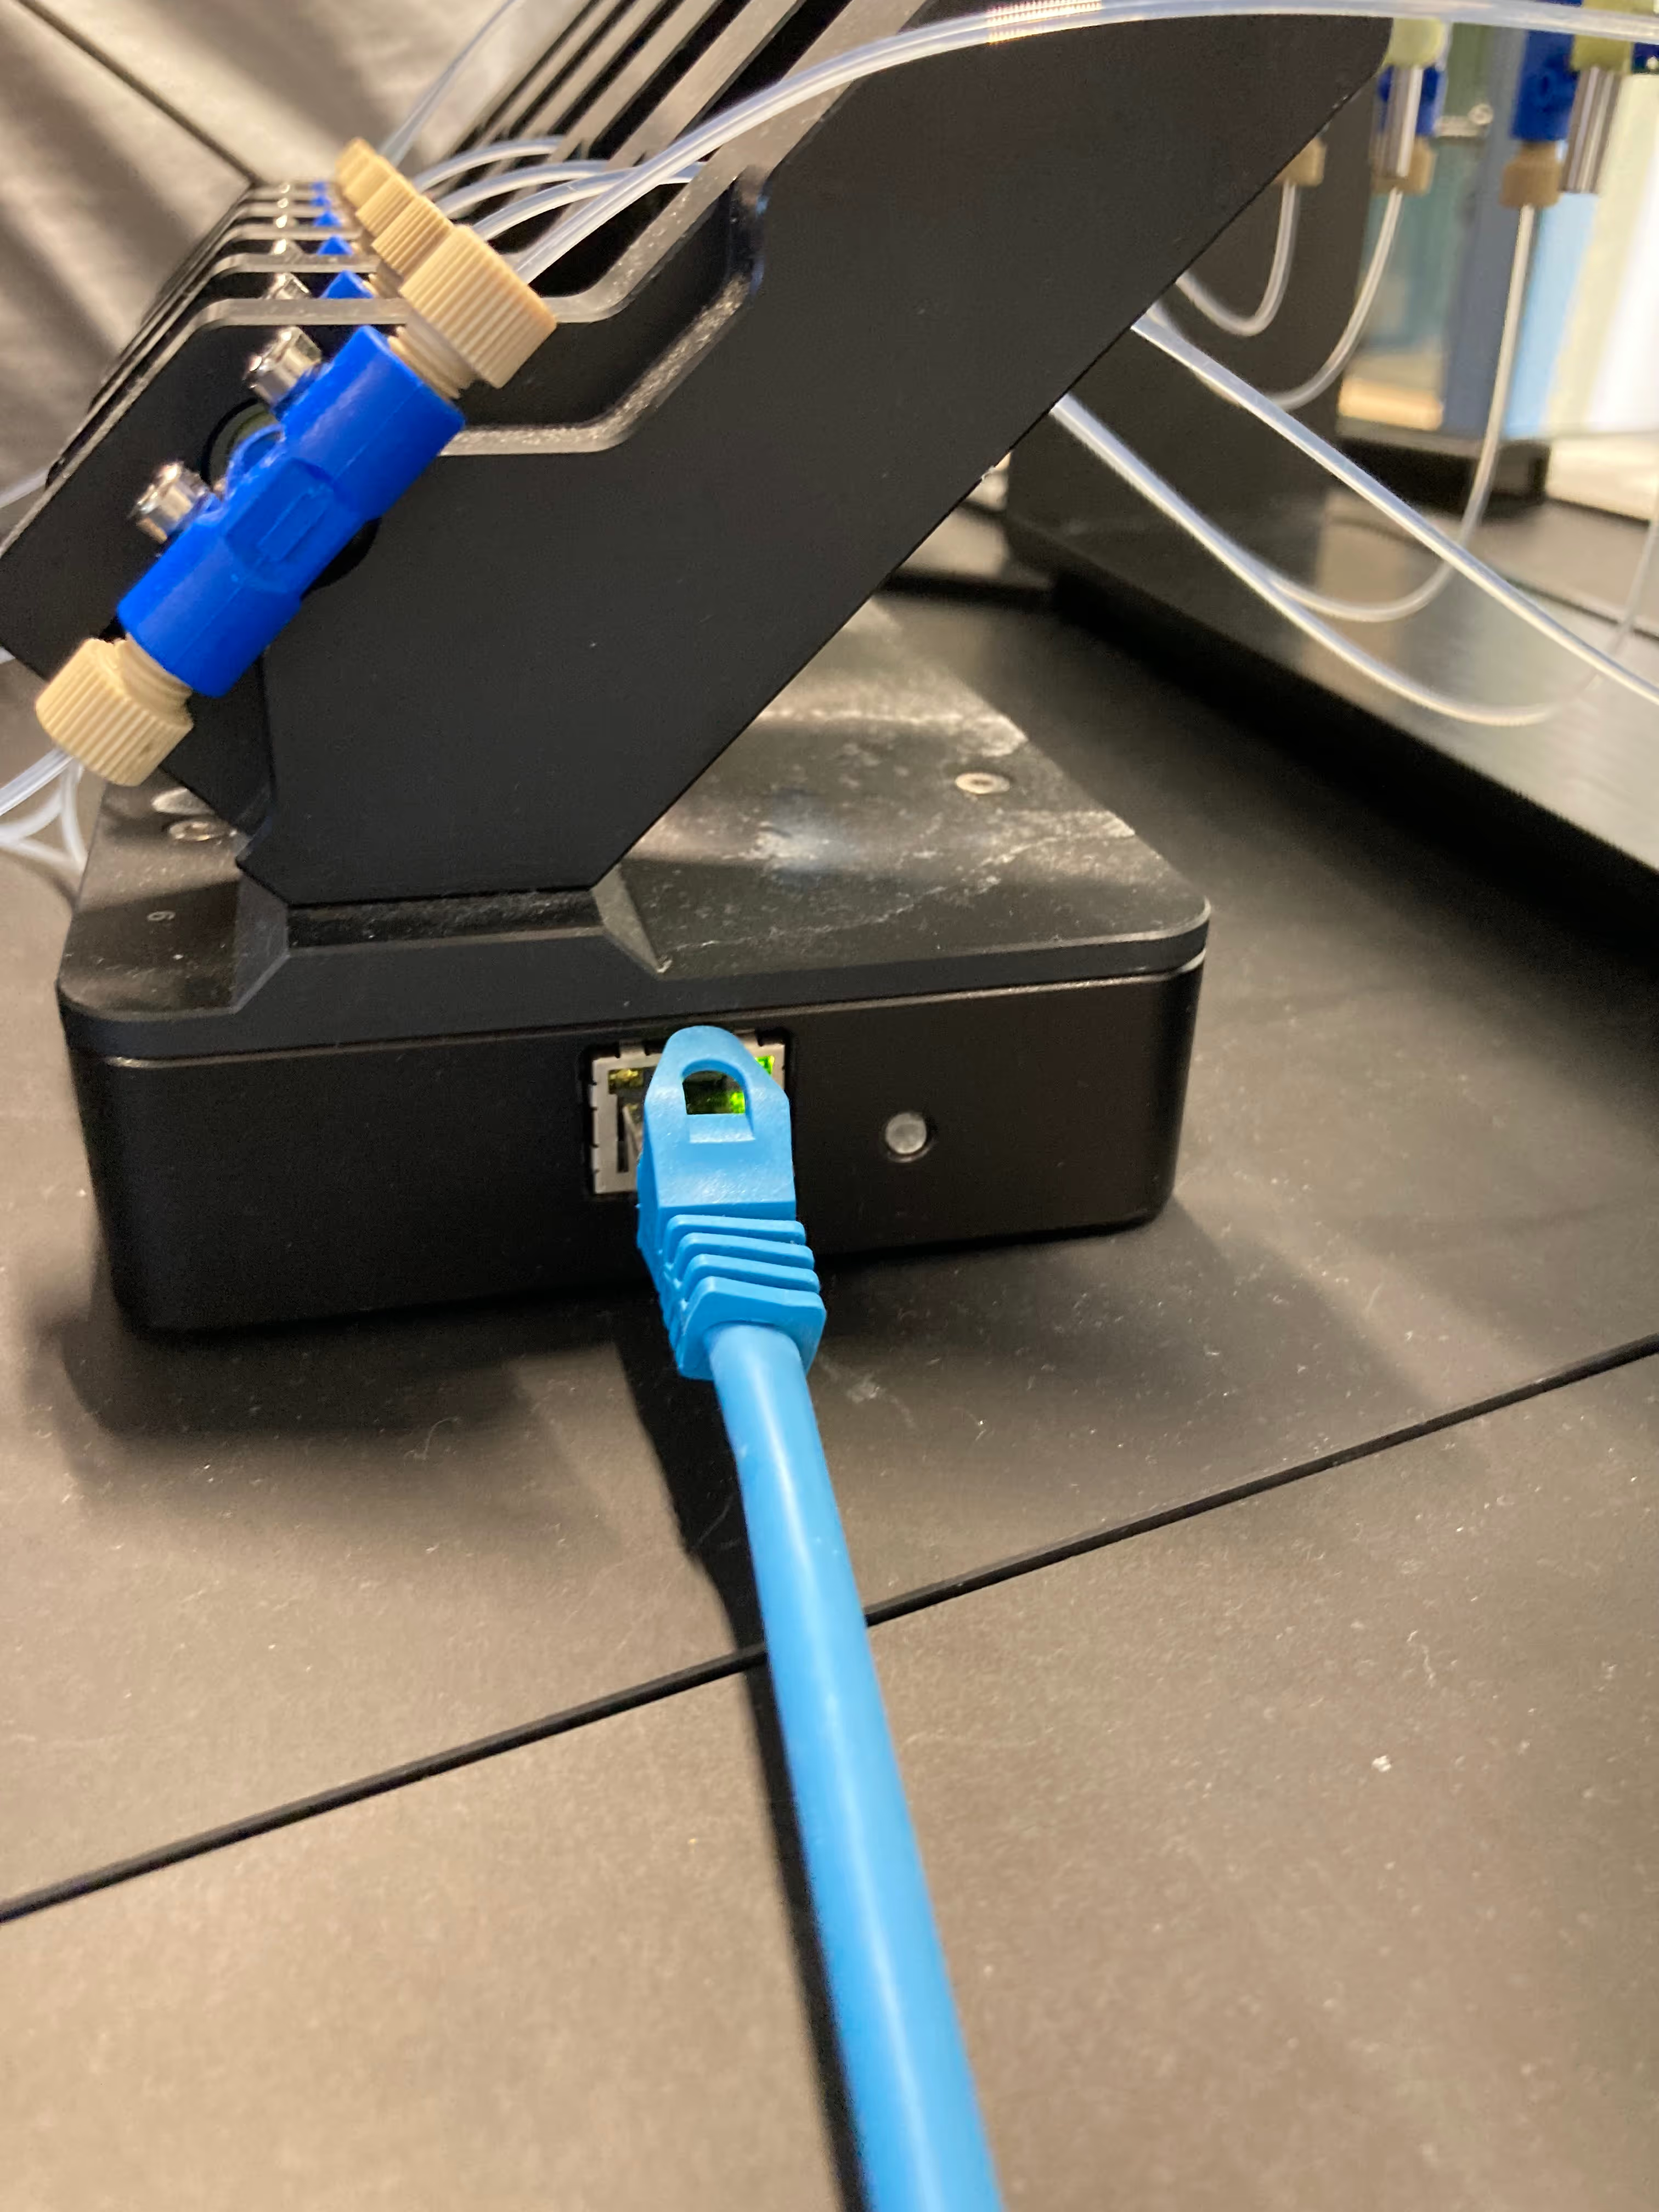
3.1. Disconnect the blue Ethernet cable from the faulty AFL (the port is located on the rear-facing side of the C-Trap).
3.2. Unscrew all the valves from the assembly using the 2.5 mm hex key. Retain screws for reuse.
3.3. Remove the valves from the faulty AFL:
- In some cases, actuators from faulty channels may remain in the closed position, which may require gentle manipulation to remove.
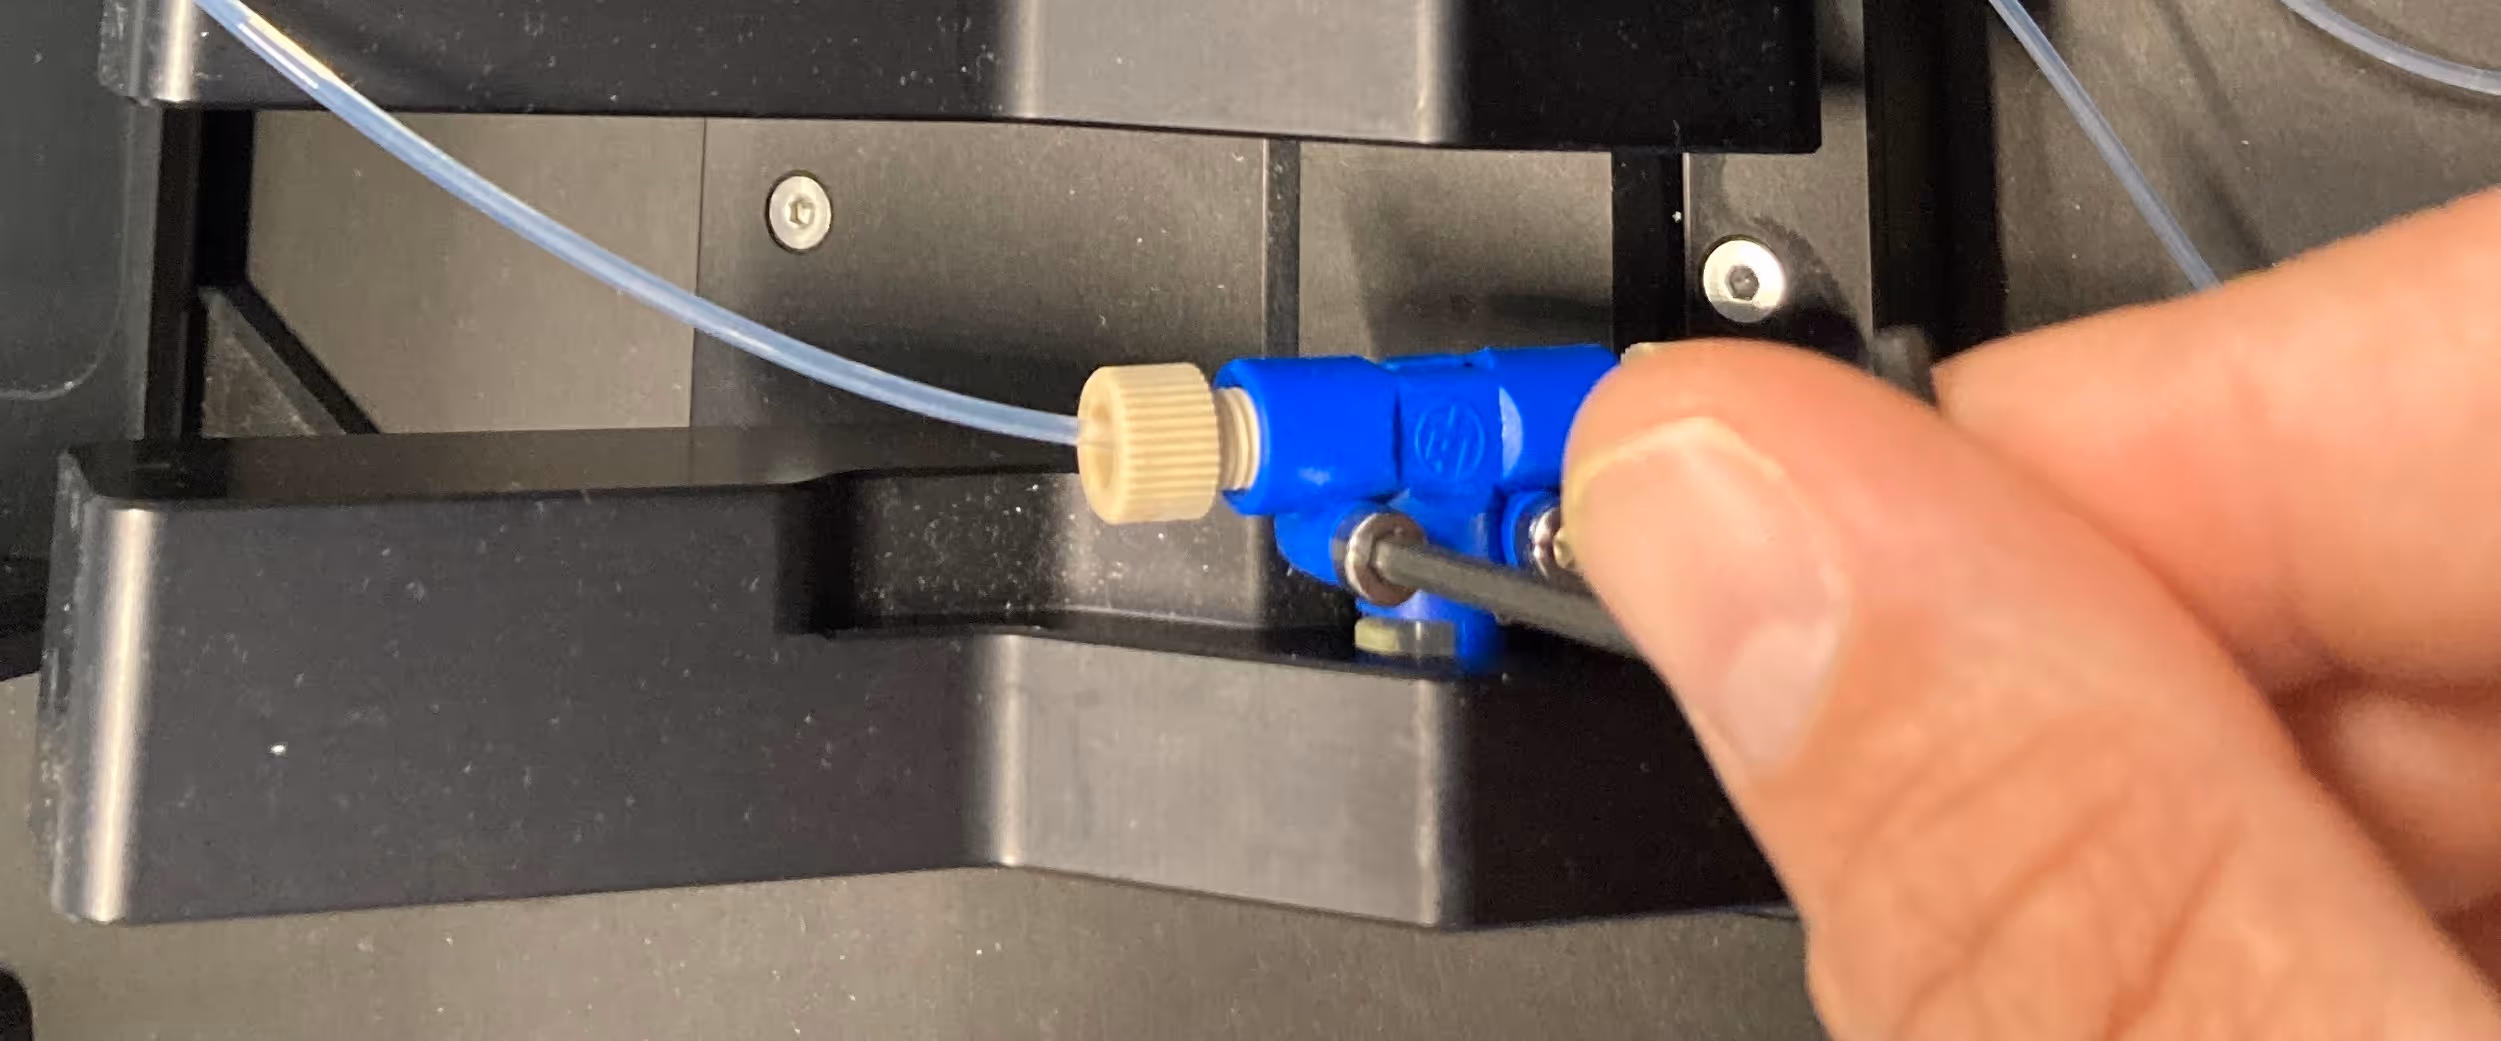
- Do not apply excessive force. If a valve cannot be removed, leave it in place. Spare valves can be found in the C-Trap connection kit that's provided when the system is installed.
3.4. Remove the faulty AFL module and install the new unit on the C-Trap tweezers table, ensuring that its Ethernet port faces the rear of the C-Trap.
3.5. Reconnect the blue Ethernet cable and verify that the connector lights are illuminated.
4. Configuring the DHCP Server
4.1. Using the MAC Address from the Device Sticker
On the controller PC:
- Open the file: C:\srv\dhcp\OpenDHCPServer.ini (Right-click → Edit → Notepad).
- Scroll to the “Devices” section at the bottom of the file. Replace the existing MAC address entry for “autofluidics” with the new AFL’s MAC address.
.PNG)
- Save the file (File → Save).
- Open the Windows Services app (search “Services” in the Windows Start menu).
- Locate Open DHCP Server, right-click, and select Restart.
.avif)
- Open Firefox browser and go to: http://localhost:6789
- Verify that the MAC address now appears under Active Leases with the hostname autofluidics. Figure 5 provides an example of the Pressure box device entry.
.avif)
4.2. If the MAC Address Sticker is Missing
- Open Firebox browser and navigate to: http://localhost:6789 to view the DHCP server status page.
- Note all devices currently listed under Active Leases.
- Power on the new AFL (by ensuring the blue Ethernet cable is plugged into it) and wait a few seconds.
- Refresh the DHCP Server status page. A new device should appear under Active Leases with an automatically assigned IP address ending in .250–.254.
- Record the MAC address of this device. Note that unconfigured AFL units typically appear under the hostname ‘Wiznetxxxxxx’.
- Return to Section 4.1 to configure the DHCP server with the retrieved MAC address.
5. Testing the new AFL
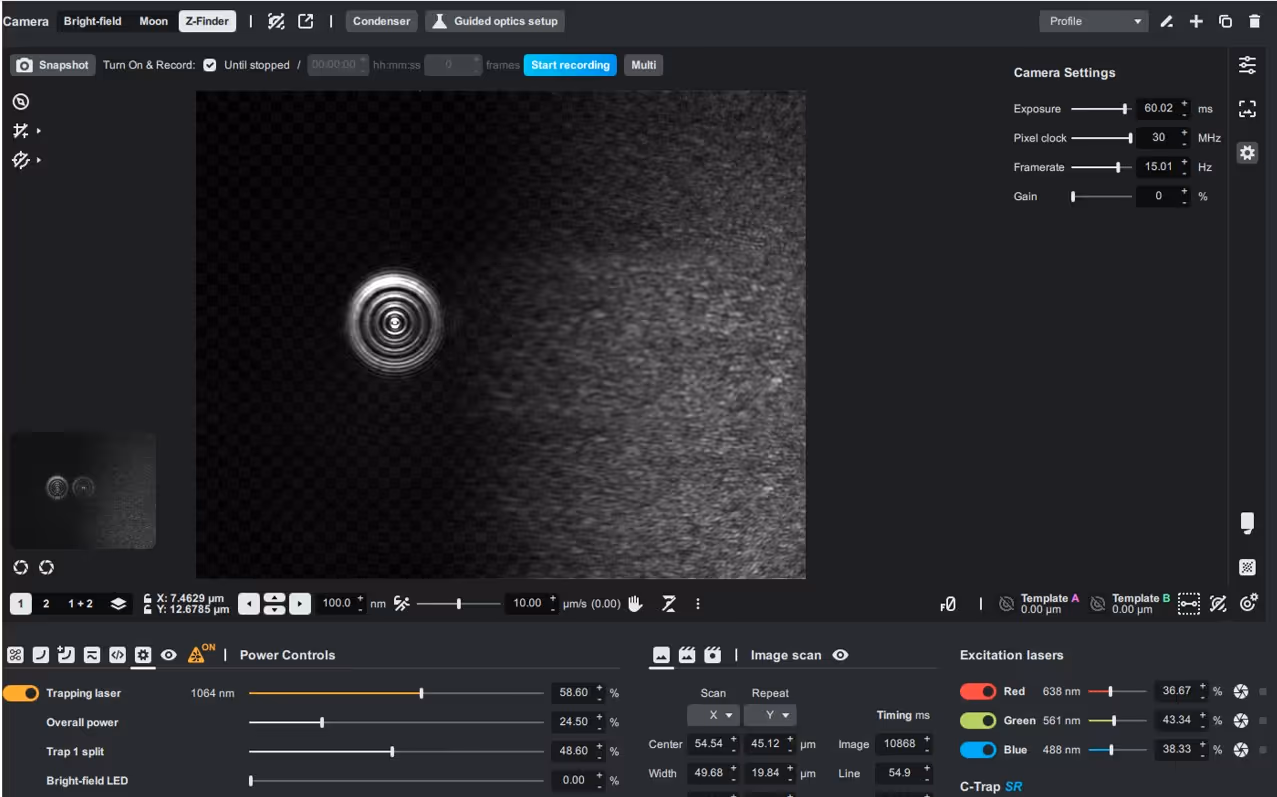
5.1. Open Bluelake and check for status messages in the valve control panel:
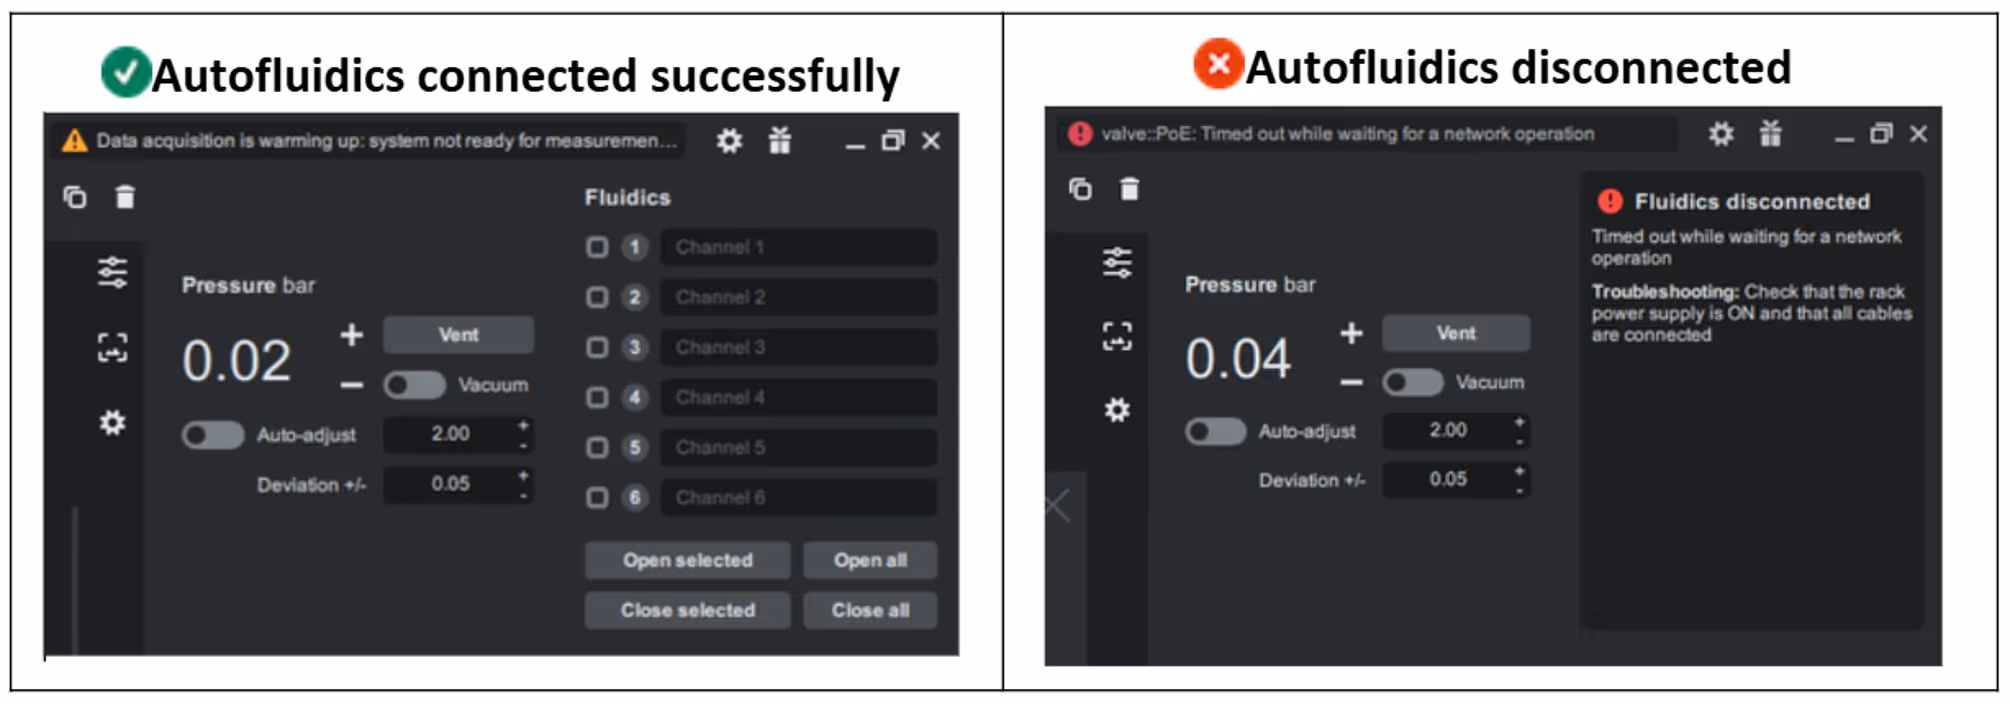
- If the AFL is shown as disconnected, restart the Open DHCP Server service (Section 4.1, steps 4 and 5), wait 30 seconds, and then restart Bluelake.
5.2. Confirm valve operation:
- Select each valve individually and check for the blue indicator light on the AFL.
- Verify that each valve actuator is audible when switching.
5.3. Select Open All in Bluelake to open all actuators, then secure the valves to the new AFL assembly.
5.4. Close all valves to complete the test.
6. Final Steps
6.1. Conduct a quick but thorough decontamination of the faulty unit. Instructions are provided in the decontamination form available with the AFL replacement package.
6.2. Pack the faulty AFL in the shipping box provided with the replacement unit.
6.3. Attach the return label (provided in the shipment).
- If no return label is included, contact customer support through your support case.
6.4. If direct courier collection (typically FedEx) is not possible, provide the package tracking number to customer support, who will arrange collection.
7. Troubleshooting
7.1. No Connection in Bluelake
- Verify Ethernet connections between the AFL, the C-Trap, and the rack. The Ethernet hub at the back of the rack should have two blue cables securely connected.
- Check that Ethernet port lights of the AFL are flashing.
- Verify that the MAC address in OpenDHCPServer.ini file matches the AFL’s MAC address.
- Restart Open DHCP Server, wait 30 seconds, and restart Bluelake.
7.2. Faulty Valve Actuator
- Identify the affected valve.
- Contact support@lumicks.com via your support case for further instructions.